This page covers strategies for fighting the standard repeatable sandbox enemies. There are two main kinds present on all maps of sandbox.
Arcarum Pages
5 Gauge
The first kind of the standard sandbox nodes are the 5 gauge (ゲージ5) nodes. They are the ones with 5 ticks per defender as seen below.

These nodes are comparable with EX+ from UnF typically having ~20m HP. They are also the main nodes that will be farmed for most players thanks to how quickly they can farmed.
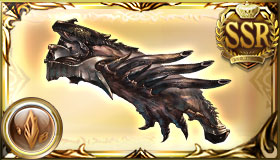
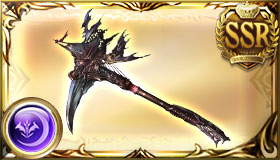
Relic Buster
A standard Relic Buster CA burst is a great starting place for these nodes. It is both very flexible for characters and grid pieces. Characters will ideally be anyone with a large CA or skill nukes. For weaker grids, additional button presses can be used as needed.
Rotation
- Turn 1
- Relic Buster

 Gain 5 Machine Cell (Max: 5) and restore HP (Healing cap: 2000).
(When HP is 50% or above: Also gain Strength (45%-15%, 3T).)
Level 30:
(When HP is below 50%: Also gain Jammed (30%-90%, 3T).) , All allies gain Charge Bar, C.A. DMG Boosted (1 time), and C.A. DMG Cap Boosted (1 time) based on number of Machine Cell.
(Consumes all Machine Cell.) 
- Relic Buster
0B4C
Clearing Zone Kalendae in Area 2 unlocks the Overflow’s Guidebook. This provides an extra 40% charge bar. Adding 30% charge from crew buffs and another 30% from Huanglong main, a 4 chain can be reached without a single button press.
Like with the prior setup, there is a lot of flexibility with characters and weapons. Pick anyone with large CAs or skill nukes. Another option to reduce lockout is to bring along a character you can’t attack or CA. Even a single one will greatly reduce lockout.
Bubs Attack
With access to the summon Beelzebub , it is easy to avoid the CA lockout all together. Bubs’ call deals over 9m damage while inflicting max defense down and 100k supp. This makes it easy to finish off the boss without using any charge attacks.
Characters can be anyone with guarenteed multi attacks, skill nukes on autos or enemy specials, or passive stam.
Rotation
- Turn 1
Attack Only
Defeating Gilgamesh Militis in Zone Mundus unlocks the Shockwave’s Guidebook. This is by far the strongest guidebook providing 1 time party GTA at base and adding 30% echoes, 20k normal supp, and 20% normal cap at max. Not only does it make attack only setups very easily, it also becomes easy to do setups with Kaguya as main summon.
Stronger grids and characters can replace grid pieces with a drop rate boosting item like Dragon Bar V or run Mimic Manatura for the bonus bounty.


General
Instead of having specific teams for each element, many players will have one team that can cover all elements. While many of the above setups can be used for this, this section will cover some variations not included above.
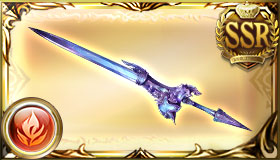
Ereshikagal
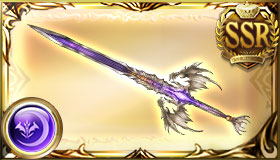
The 150 GM weapon Ereshkigal starts with 100% bar and applies teamwide double strike on CA.
Percival
Percival (Grand)’s powerful skill 3 Koenig Dekret
![]() 900% Fire damage to all foes (Damage cap: ~1,020,000).
900% Fire damage to all foes (Damage cap: ~1,020,000).
All Fire allies gain Fire ATK Up (100%, 1T) and Bonus Fire DMG (1 time) (30%, 1T).
All Fire allies instantly perform a normal attack without using up a turn.
(Consumes King’s Blaze after activation.)
not only provides a strong set of teamwide buffs, but the free time wide attack runs on skill lockout instead of a series of auto attacks making it the lowest lockout option available.
Rotation
- Turn 1
- Percival (Grand)
 Koenig Dekret
 900% Fire damage to all foes (Damage cap: ~1,020,000).
All Fire allies gain Fire ATK Up (100%, 1T) and Bonus Fire DMG (1 time) (30%, 1T).
All Fire allies instantly perform a normal attack without using up a turn.
(Consumes King’s Blaze after activation.)
- Percival (Grand)
3 Gauge
The other kind of common node are the 3 gauge (ゲージ3) fights. Each fight has 3 ticks until a defender gets unlocked.

These nodes typically have 60-70m HP. As a result, most players will ignore them outside clearing missions. They do not have a significant difference in drop rates so the faster clear times on 5 gauges are generally better. At the very highest end, they can also be dealt with in an attack only setup. Generally even then the 3 gauge fights have longer loading animations making 5 gauge more appealing.
Relic Buster 2 Turn
Like with 5 gauge, a Relic Buster CA burst is the easiest way to deal with the 3 gauge nodes. Unlike them, it is a lot harder to clear the nodes in 1 turn. With Overflow’s Guidebook
 Improves charge bar related effects.
, a two turn setup is doable for weaker setups. Additional buttons like adding Miserable Mist
Improves charge bar related effects.
, a two turn setup is doable for weaker setups. Additional buttons like adding Miserable Mist![]() Inflict ATK Down (25%, Accuracy: 80%, 180s) and DEF Down (25%, Accuracy: 80%, 180s) on all foes.
turn 1 can make it easier to achieve.
Inflict ATK Down (25%, Accuracy: 80%, 180s) and DEF Down (25%, Accuracy: 80%, 180s) on all foes.
turn 1 can make it easier to achieve.



Rotation
- Turn 1
- Turn 2
- Relic Buster
 Engage Augments
 Gain 5 Machine Cell (Max: 5) and restore HP (Healing cap: 2000).
(When HP is 50% or above: Also gain Strength (45%-15%, 3T).)
Level 30:
(When HP is below 50%: Also gain Jammed (30%-90%, 3T).) , Limit Burst All allies gain Charge Bar, C.A. DMG Boosted (1 time), and C.A. DMG Cap Boosted (1 time) based on number of Machine Cell.
(Consumes all Machine Cell.) 
- Relic Buster
Relic Buster 1 Turn
With the added damage and defense down from Beelzebub , it becomes much easier to do a 1 turn RB burst. Stronger grids and characters won’t need his call, but without them he’s the best bet to achieving one turn CA burst.


Rotation
- Turn 1
- Beelzebub
 ]
] - Relic Buster
 Engage Augments
 Gain 5 Machine Cell (Max: 5) and restore HP (Healing cap: 2000).
(When HP is 50% or above: Also gain Strength (45%-15%, 3T).)
Level 30:
(When HP is below 50%: Also gain Jammed (30%-90%, 3T).) , Limit Burst All allies gain Charge Bar, C.A. DMG Boosted (1 time), and C.A. DMG Cap Boosted (1 time) based on number of Machine Cell.
(Consumes all Machine Cell.) 
- Beelzebub
1B1S
Of course with Beelzebub , you can also run an auto burst. Running an opus with falsehood chain for teamwide double strike is excellent value for a single button press for this. The combination of those with Shockwave’s Guidebook
 Greatly improves normal attacks.
makes this easier to pull off than one might think.
General
Since 3 gauge is not worth running for most players, I will skip most of the mid range setups and go straight to the all element setups that can compete with 5 gauge nodes. If you can’t pull off either of these, there is no reason to run 3 gauge over 5 gauge for farming.
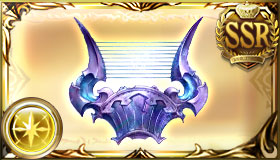
Ereshkigal
The 150 gm weapon Ereshkigal is a go to option for 0 button bursts thanks to being the 0B equivelant of the chain of falsehood and splitting spirit combo. Despite that, a Kaguya setup with it still has high requirements.
Percival
The fastest way to clear this nodes is using Percival (Grand)’s skill Koenig Dekret
![]() 900% Fire damage to all foes (Damage cap: ~1,020,000).
900% Fire damage to all foes (Damage cap: ~1,020,000).
All Fire allies gain Fire ATK Up (100%, 1T) and Bonus Fire DMG (1 time) (30%, 1T).
All Fire allies instantly perform a normal attack without using up a turn.
(Consumes King’s Blaze after activation.)
for the instant teamwide attack and echoes. This still requires high investment, but can be pulled off with a bit friendlier of a grid.
Rotation
- Turn 1
- Percival (Grand)
 Koenig Dekret
 900% Fire damage to all foes (Damage cap: ~1,020,000).
All Fire allies gain Fire ATK Up (100%, 1T) and Bonus Fire DMG (1 time) (30%, 1T).
All Fire allies instantly perform a normal attack without using up a turn.
(Consumes King’s Blaze after activation.)
- Percival (Grand)

















































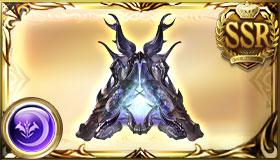
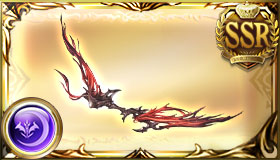
















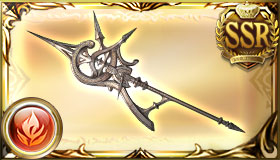
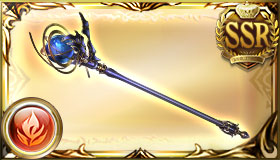


















































2 responses to “Sandbox Mobs”
You can also do 1b 3 gauge mob with FLB Catura’s 1 skill, MC rising Force w/ Pinch harmonics skill and opus w/ Freyr chain, slot some siete sword and ougi based grid plus eternal in 3 position and Huang main summon
Your 5-gauge Percival grid seems to not be the right grid – it’s a copy of the Fire Attack Only grid (which doesn’t even have Percy in it).